I have had sooooo much fun with Pearlized Enamel Effects over the past few years! There are numberless ways of using Enamel Effects! Stampin’ Up has 2 different packages:
Pearlized Enamel Effects containes: White, Black, and Real Red #156310
Metallic Enamel Effects contains: Copper, Gold, and Silver #161610
So what are some of the ways you can use Enamel Effects?
One of the primary ways is to make a pearl dot on your finished card. I especially like doing this on a stamped image. I love to see the White Enamel Effects absorb the ink color as the Enamel Effects dries.
You can dilute with water or rubbing alcohol and make splatter dots - this is specially nice using the Metallic Enamel
You can thin down the colors and actually paint using Enamel Effects - this is beautiful with the Black. When finished it has a silver shimmer
It is beautiful to smear all over a dry embossed as a background
Use it to “paint” in black coal boats or a Real Red Santa hat! Or beautiful flowers. I have “painted” with a tooth pick or a disposable brush.
Use the Metallic Enamel (gold) as highlights on an image
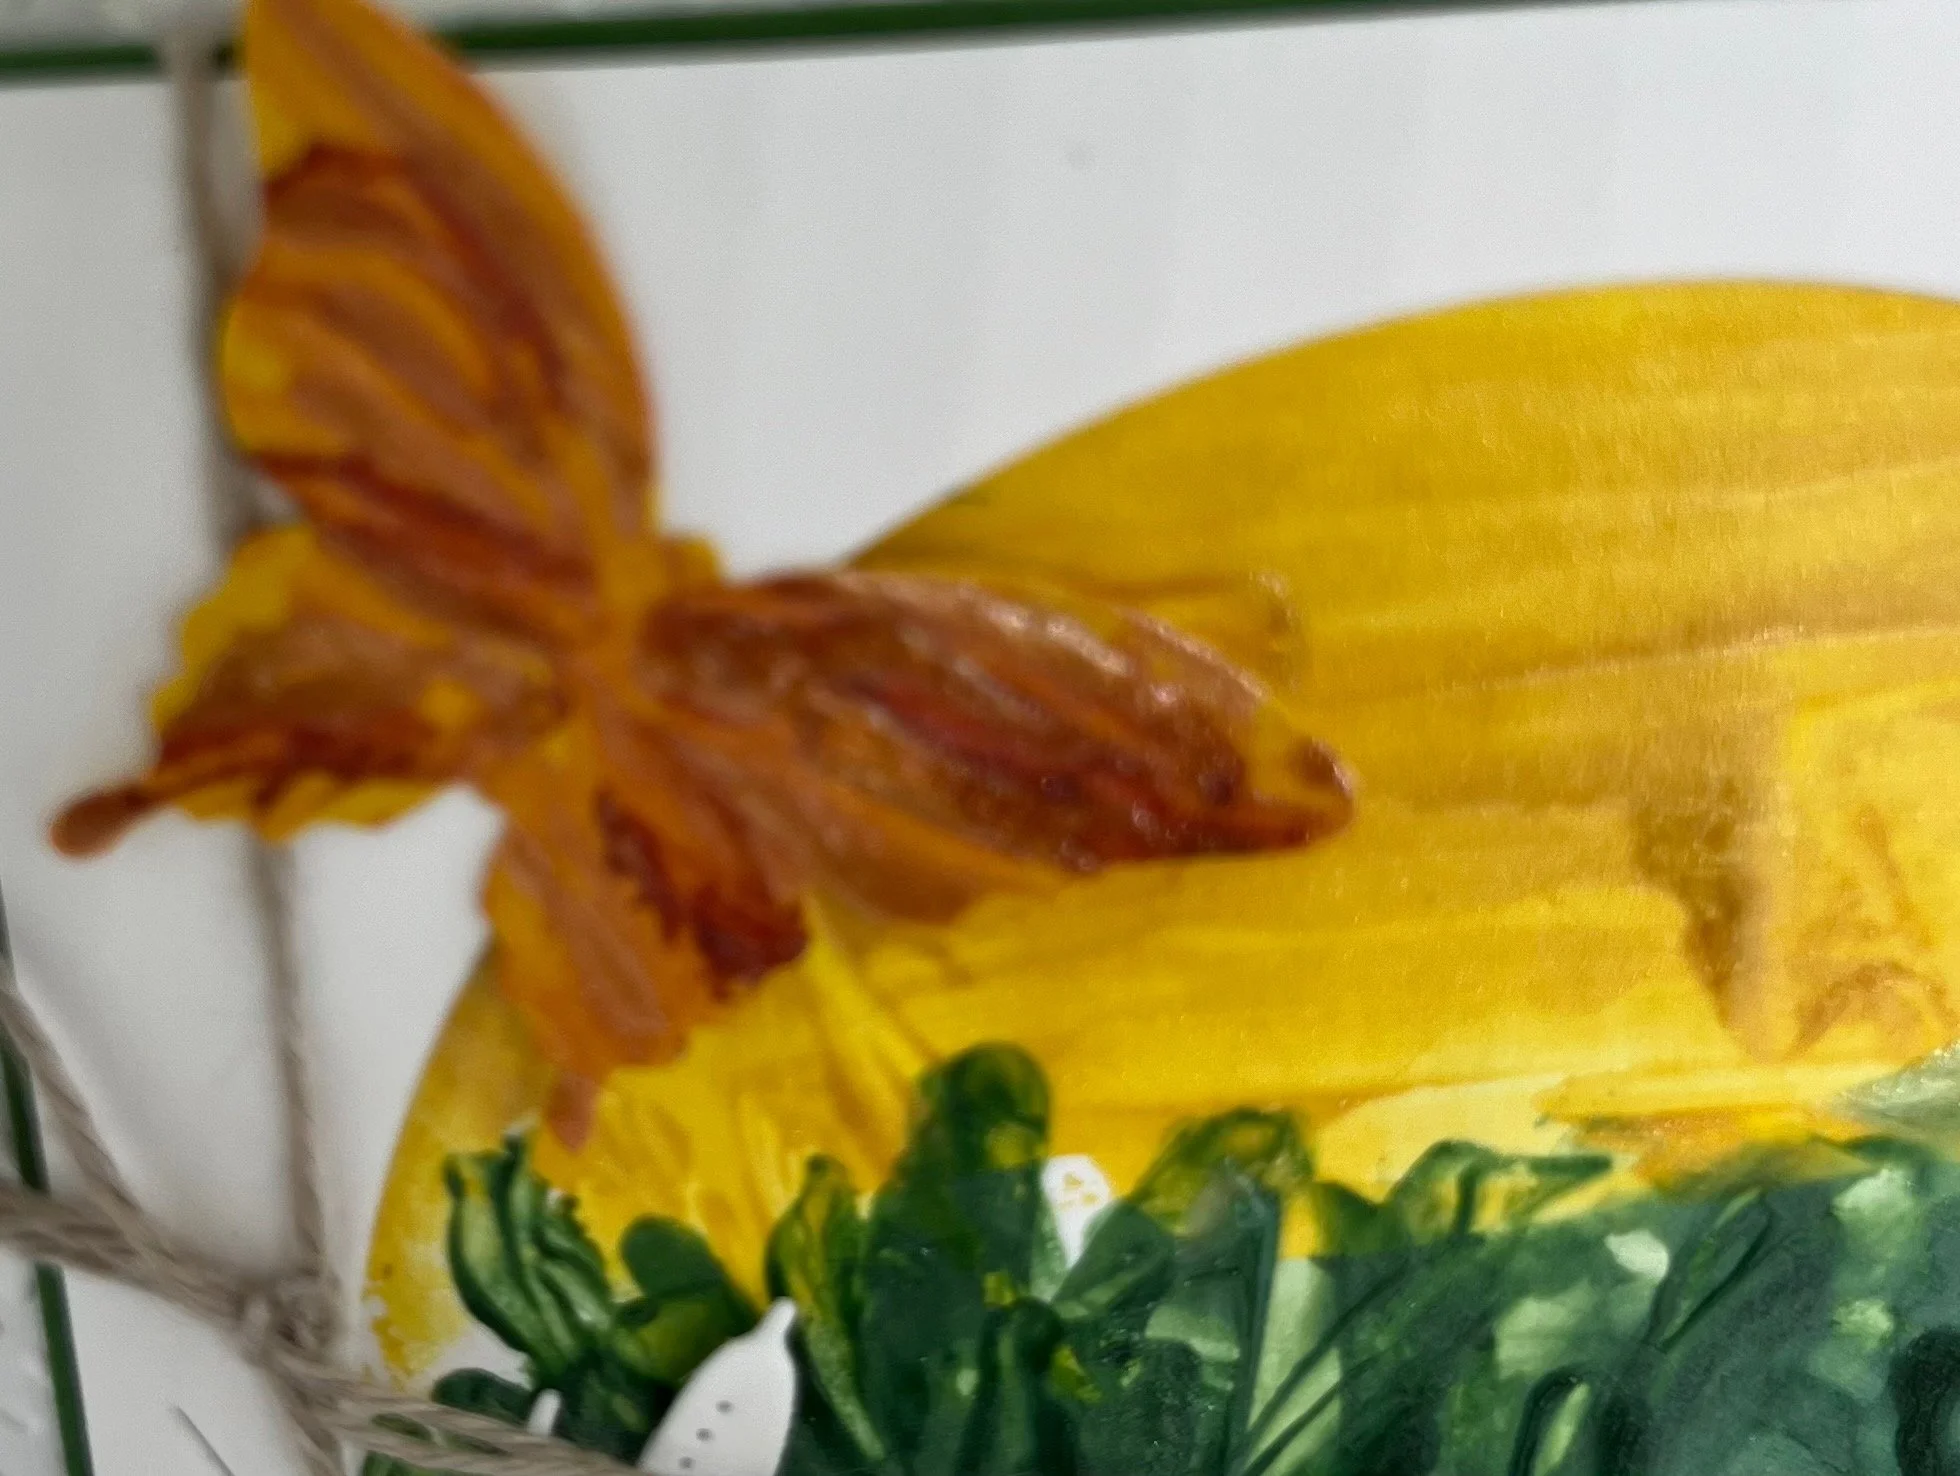
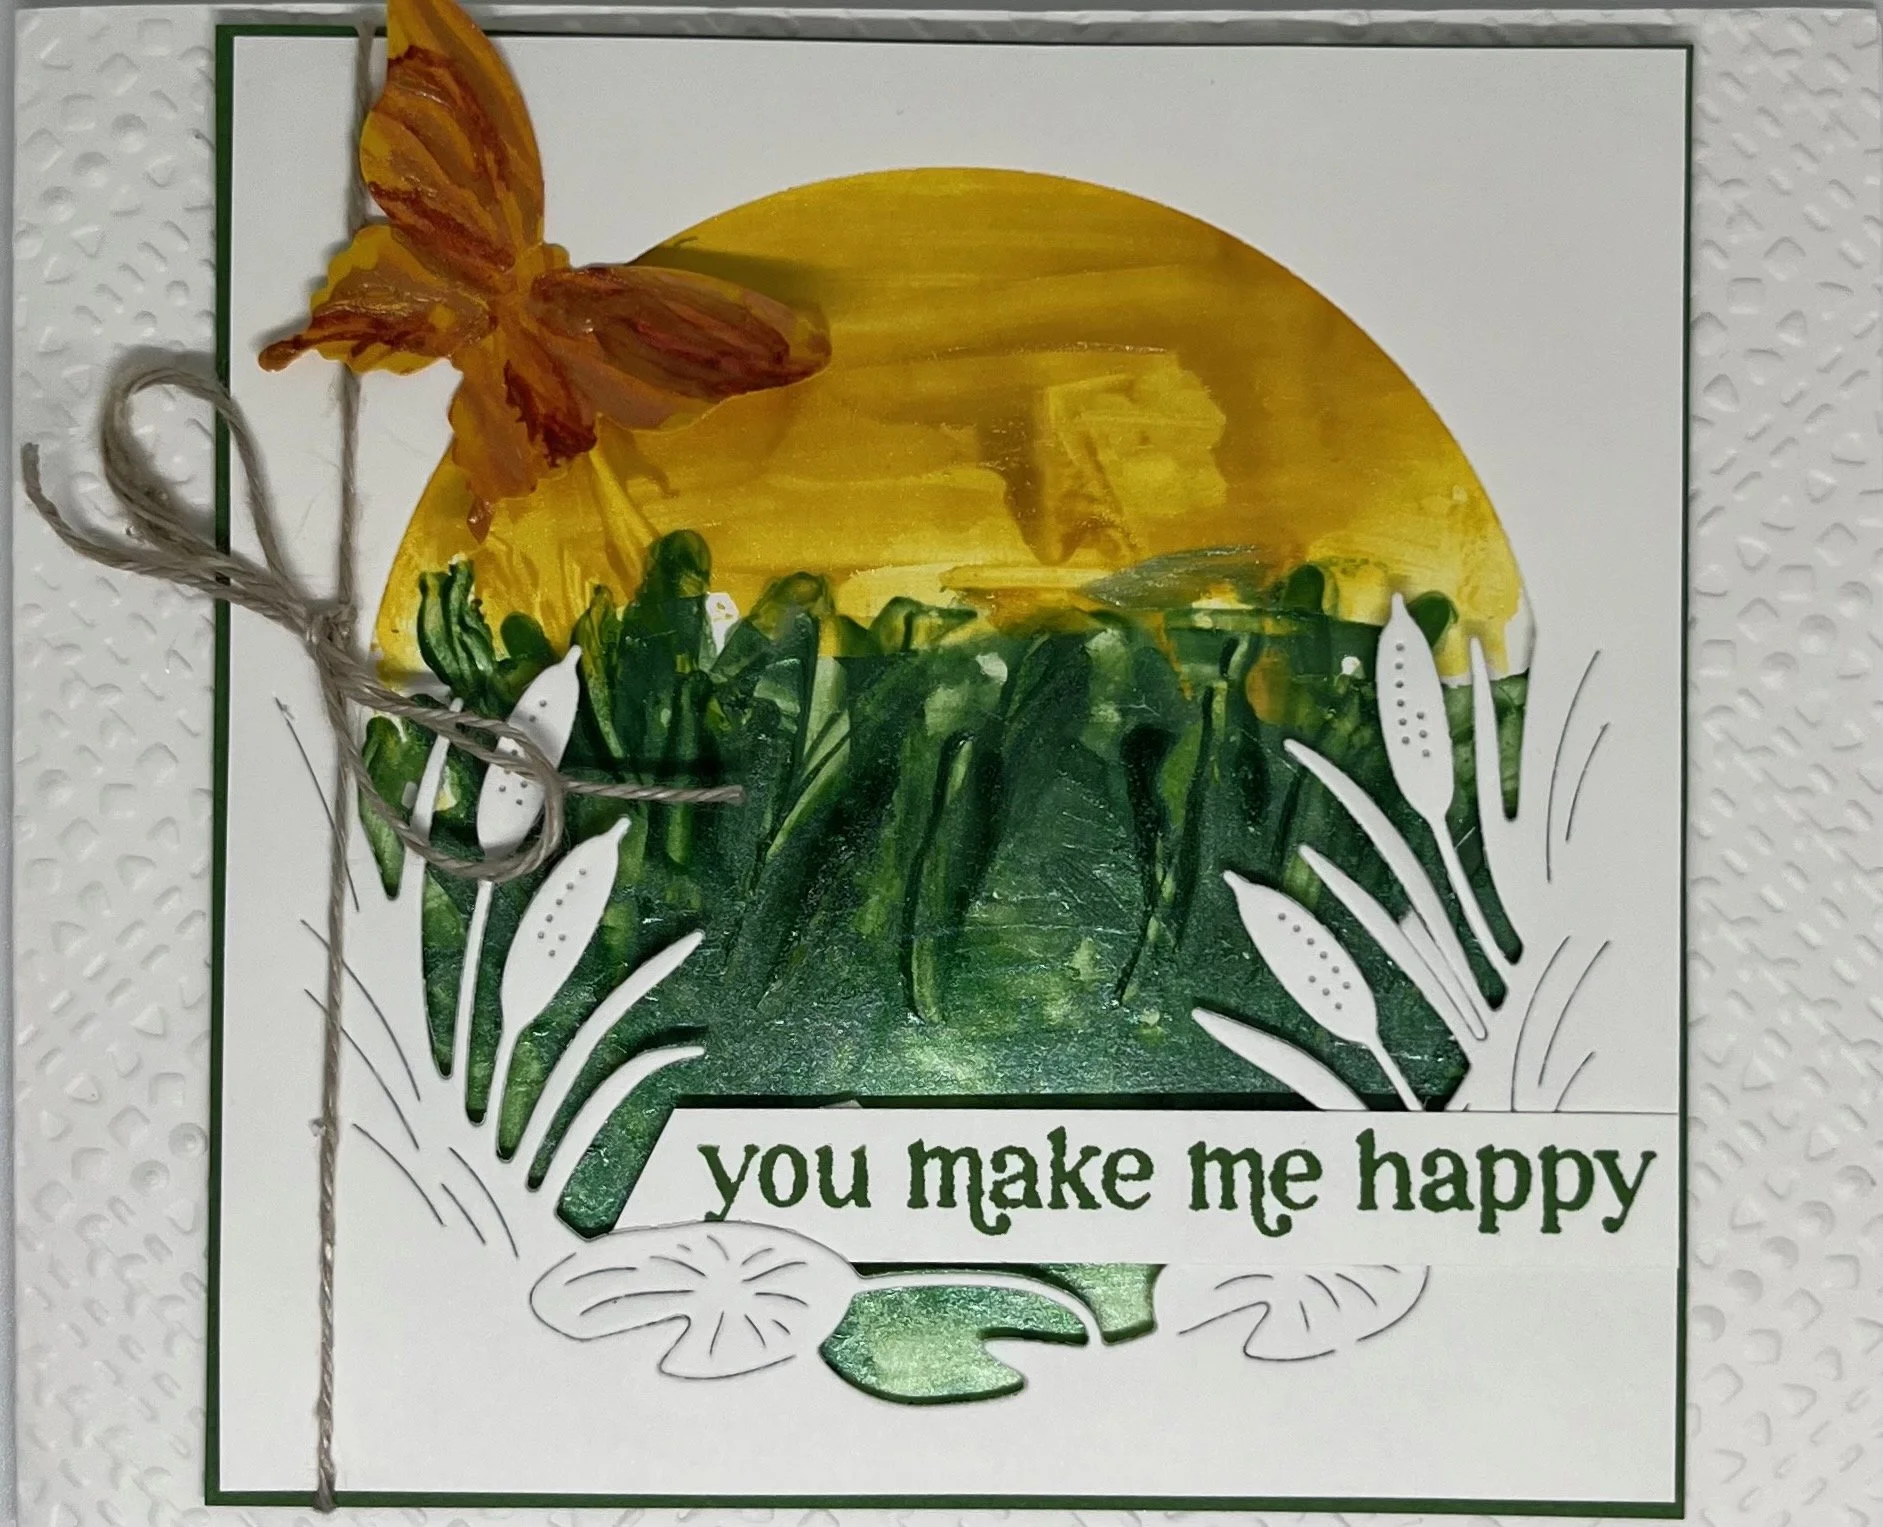
And in this sample below, we used a pallete knife to pull the Reinker colored Enamel Effects to paint a fall background scene.
This picture is really close up so you can see the pallets knife marks to spread the Pearlized Enamel Effects.
The butterfly has been painted on top of Crushed Curry Card stock with Cajun Craze ink for an overall rich bronze colored butterfly.
It is so unique and fun to play with! One word of warning….make sure you clean IMMEDIATELY - it will dry with a cloud if you use an acrylic block and it drys HARD!!! It WILL NOT be coming off your projects.
DRYING TIME; That really is the 6 million dollar question! Generally, a thin coat drys pretty fast 10-15 min. and a peal dot will dry best completely overnight! I usually put mine pearl dot on last thing before bed….so I don’t get impatient and touch it before it’s completely dry and avoid a finger print on my pearl.
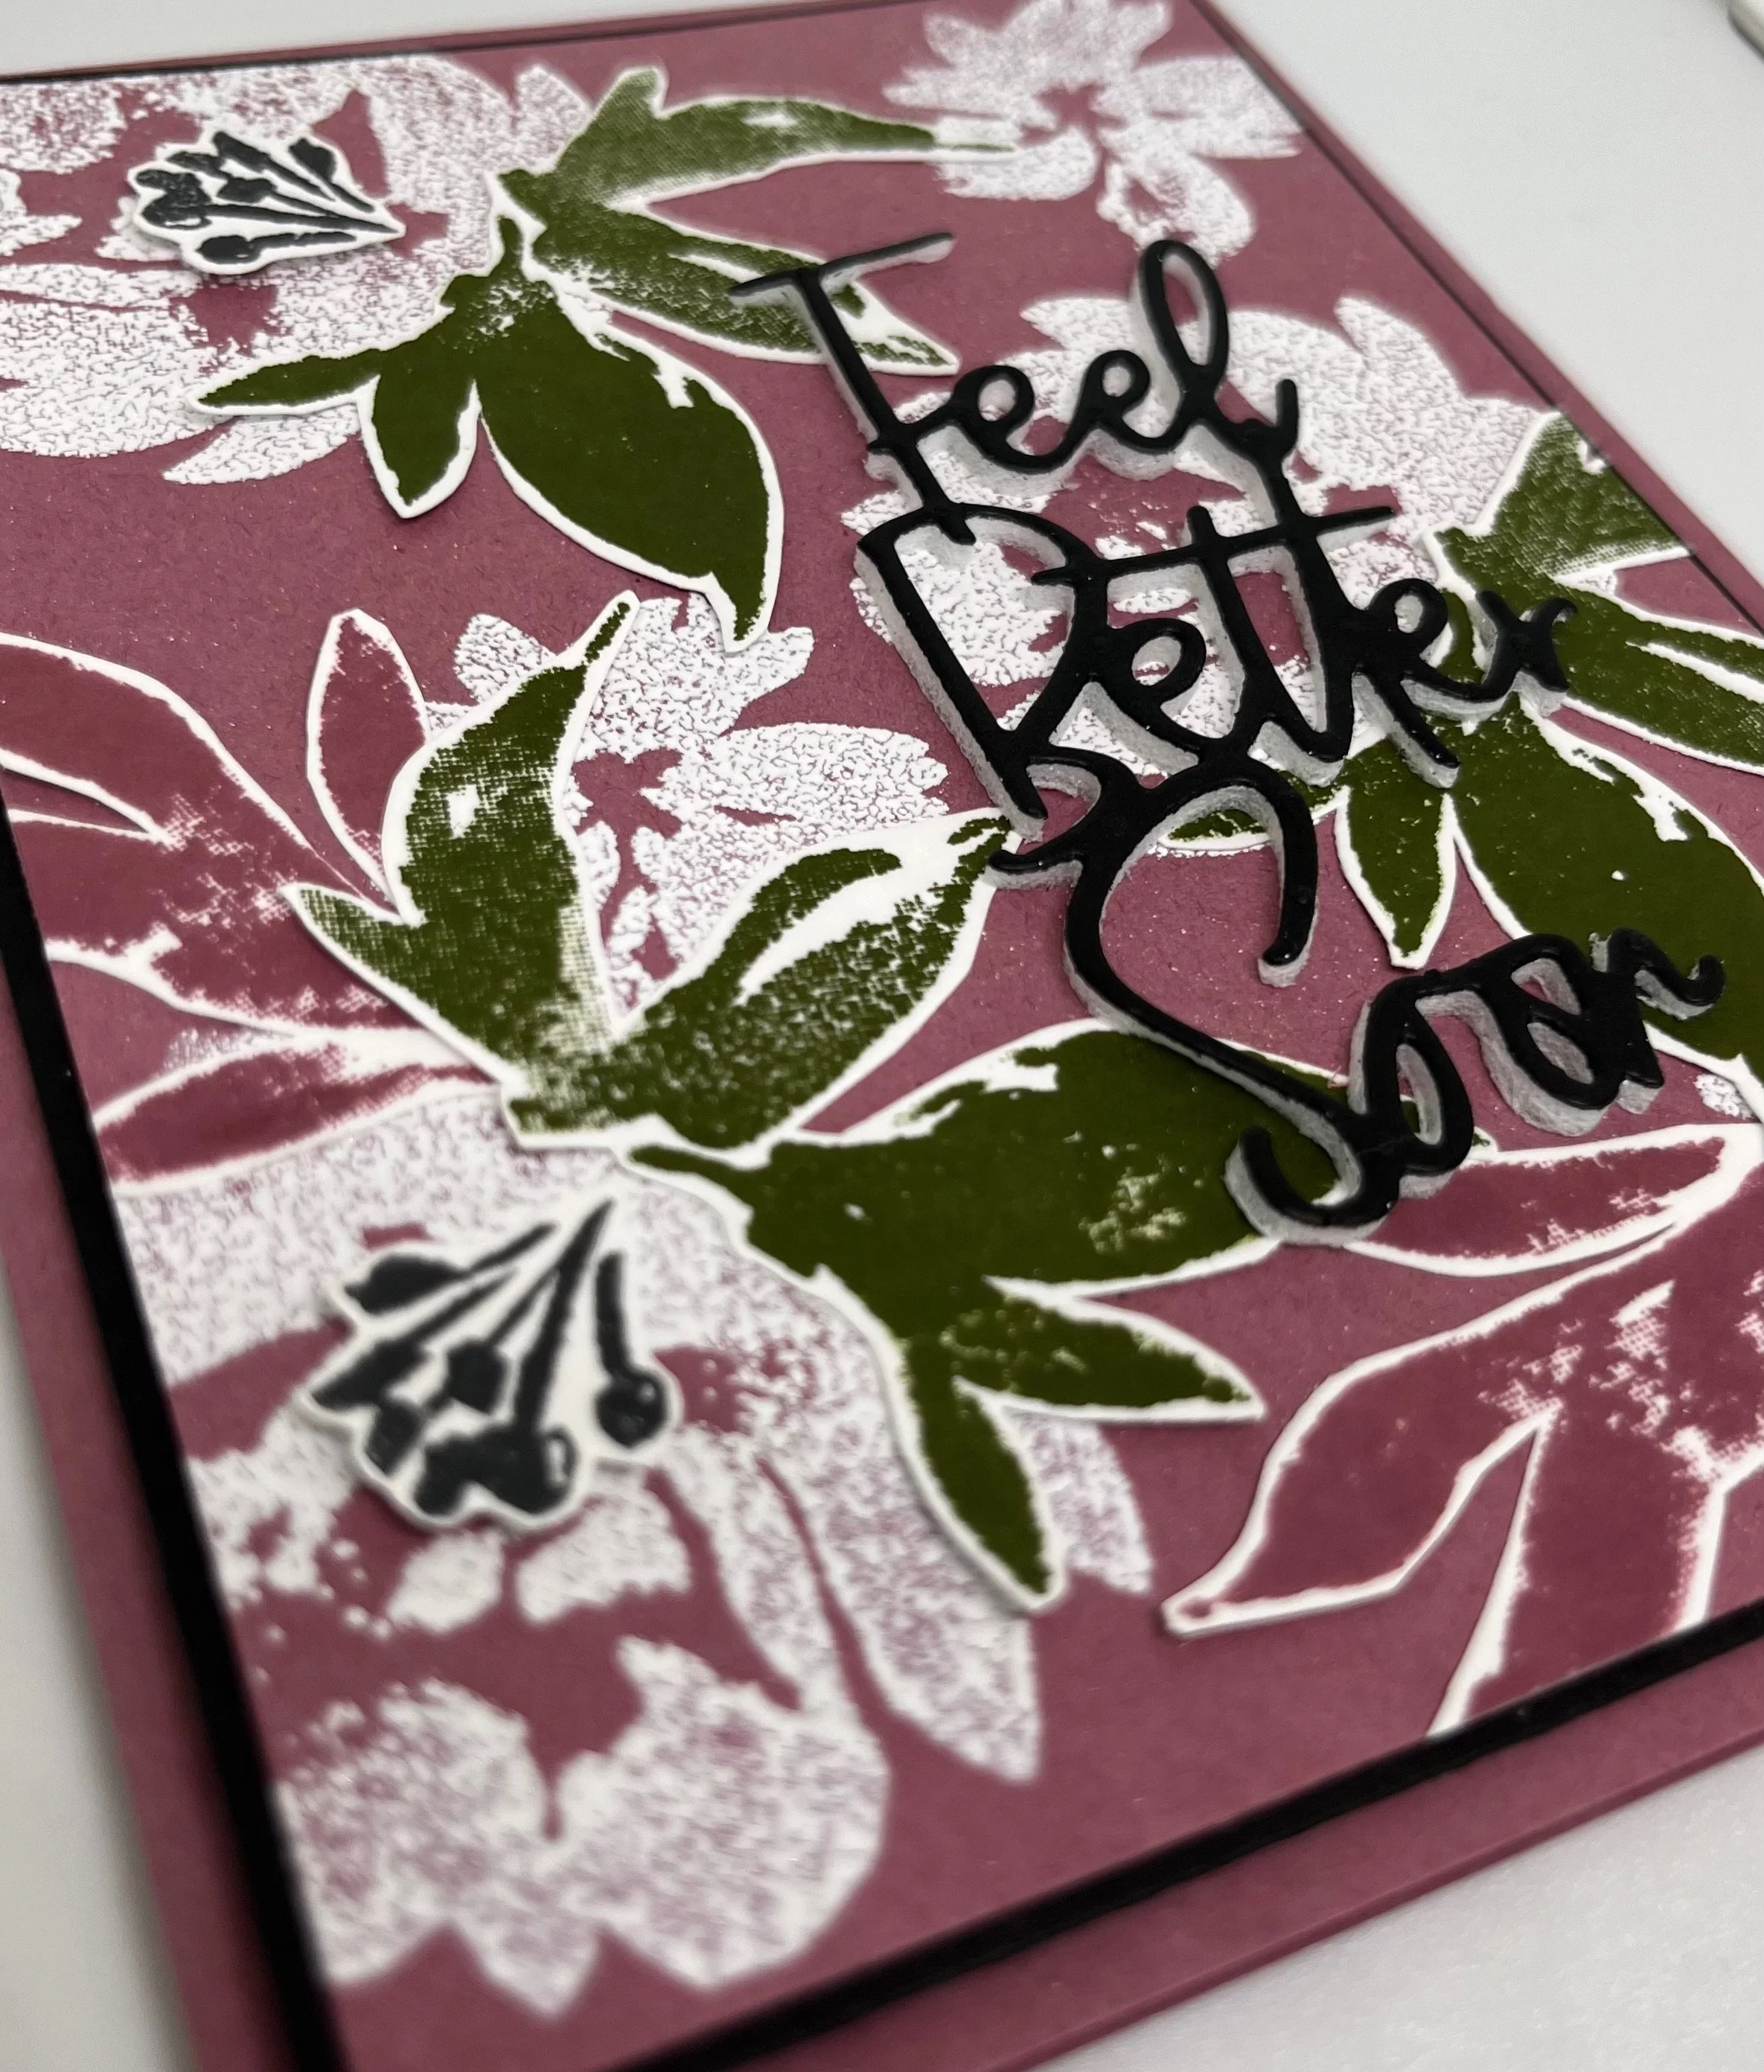
Intensify using Adhesive Sheets to lift your sentiments off the page! Look on page 85 in your 2024-2025 Annual Catalog….hiding in the bottom right corner and these most wonderful dies called….WANTED TO SAY #161594.
Foam Adhesive Sheets #152815 give lift, emphasis, attention, and strength to your card - in this case the sentiment that is die cut!
take off one side of the Foam Adhesive Sheet’s waxed paper and adhere a piece of card stock - here we used Basic Black
die cut placing the die with cutting side down to card stock
run through die cutting machine
pull off die cut word off waxed paper backing and place on your card
Upcoming Events:
Friday, August 16 - Gastonia Club @ 11AM Esther’s home in Belmont Pamela is our hostess
Friday, August 16 - 1st Friday Club @ 5PM Esther’s home in Belmont Amy is our hostess
Scrapbooking @ 4PM Esther’s home in Belmont


