Shaker cards are so fun and interactive! Stampin ‘ Up has made it super easy with the Gumball Machine Dies in the January - June 2022 catalog.
I’ve got a picture tutorial for you today and hopes that Elizabeth will have a video for you soon.
The little gumball machine is soooo cute and looks so so just like the real thing! The embossing on the silver is so realistic and the turnstile turns round and round! :)
The coin has a real slot that you can open a bit so the coin will stick out and then there is a little flap the can be flipped up. I stamped gumballs on a piece of cardstock so it looks just like gumballs are ready to fall out.
You’ll want to order your Gumball Greetings Bundle #157648 $41.25 and get some of the Frosted Bead Assortment #158132 $7.50 (we filled over 20 cards with one package), and Gumball Machine Shaker Domes #158131 $7. for a package of 10 domes.
Placing an order for the bundle, domes, and frosted gumballs will enable to our get a free Sale-a-braion gift from the 2022 Sale-a-bration flyer. That’s an added perk during this time of year! :)
Lets begin!
Die cut pieces for gumball machine first. I used Silver foil and Real Red cardstock for machine
Be really really careful with the little thin die for the top of the gumball machine lid!!! I am so afraid I’m going to lose it! I don’t think we’ve had such a small die before but it so looks good on the lid for the top knob!! Love it!
Next, adhere the pieces together to make it 3D like this
Using a pick, make a hole in the square die cut Silver Foil and put a brad through both turnstile and square and spread the brad legs in the back
Stamp coin on Basic Grey cardstock with Basic Grey ink and die cut
When you attach the coin use a Mini Dimensional to attach so it is more 3D
Also, using Stampin’ Write markers, color the gumballs stamp with different colors (here I used Granny Apple Green, Pool Party, and Flirty Flamingo) Huff to add moisture and stamp on a piece of CS 3/4” x 1” to adhere under the flap for gumballs to come out
Place your gumball machine on to the Designer Series Paper you are using as background (here I used Sweet Talk DSP #157616 pg. 9 in January to June 2022) or your cardstock background for a guide placement for the die to cut opening for dome
And stamp sentiment and die cut. Here, I used Real Red ink on Coastal Cabana cardstock and die cut with Stitched So Sweetly Dies #151690
Next peel off the waxed paper on the top outside of your dome and place the DSP or background CS over it. Press around to seal securely.
stamp the dome lines with highlights in Basic Grey ink on a piece of Basic White CS measuring 2 3/4” square
Turn the dome over to expose the opening and put about 1/2 teaspoon of Frosted Beads Assortment #158132 in it.
Hardest part…right here but YOU CAN do it!!! take the waxed paper off back of dome and hold it up to see through dome to place stamped dome lines in place OR you could put a piece of Window Sheet over it to seal while back is up and then pick up to place stamped dome lines with glue dots on the corners of Basic White CS
Press to seal beads inside
Your on EASY street now…..attach to a Real Red matte ( my measurements for Real Red matte 4” x 5 1/4” and DSP is 3 7/8” x 5 1/8”
Attach to card base. I used Coastal Cabana 5 1/2” x 8 1/2”, scored at 4 1/4”
Attach sentiment with dimensionals
Stamp inside and envelope
Your assignment….go have fun and make more!
Card Buffet - Friday, January 28th and Saturday, January 29th
Friday, January 28th - 10am to 5pm
Saturday, January 29th - 10 am to 4pm
Make the number and style of cards you want
Cost is $2.50 a card or make 8 and get the 9th one free
There are at least 15 styles to choose from. Following are many of them
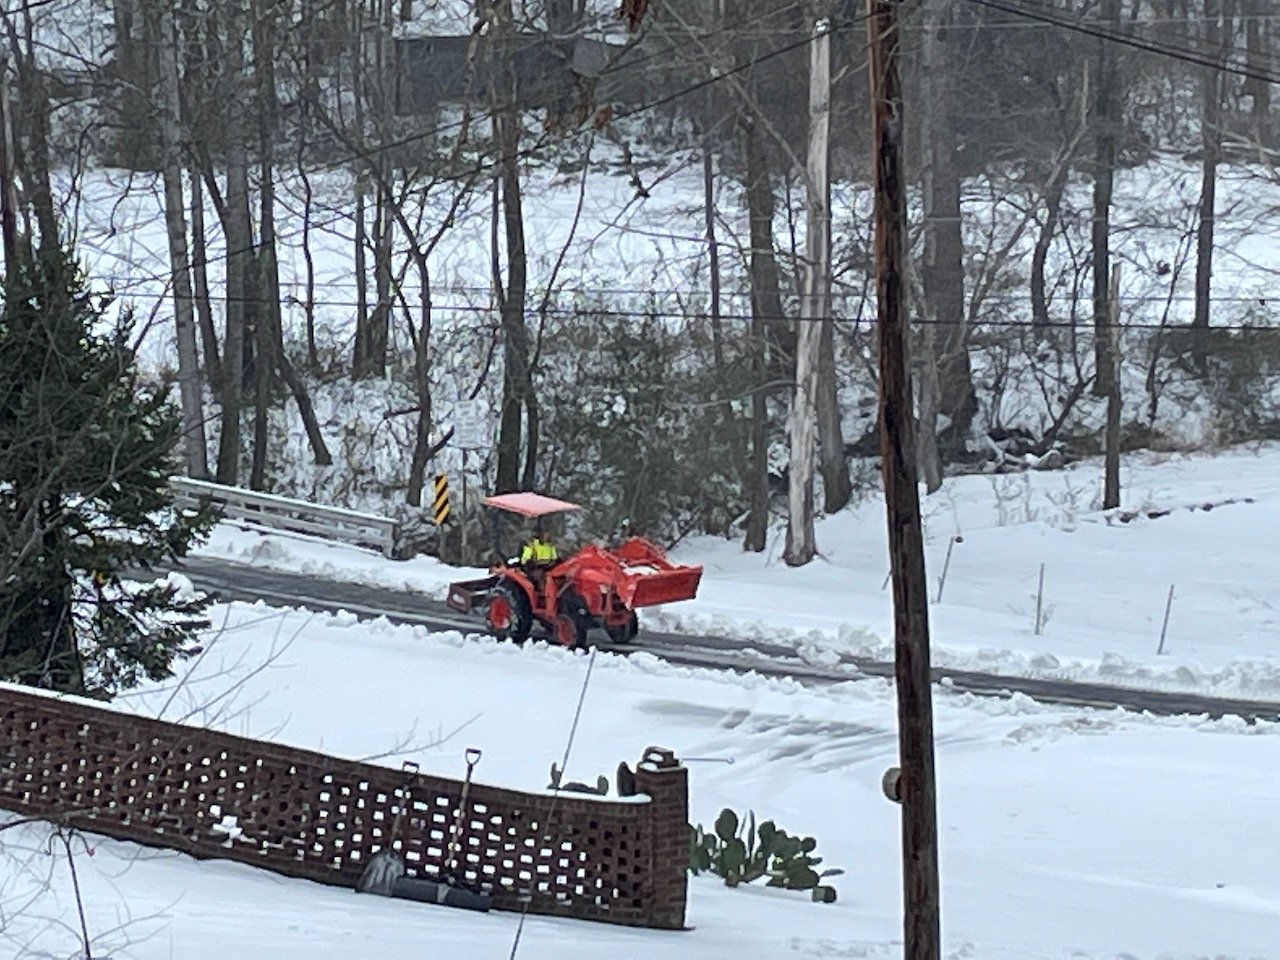
And, one proud mama moment….my youngest son came over today without being asked and ate lunch with us and then plowed the road in front of our house up to the road. I appreciate him and love him so much along with all my other adult babies :)
Birthday Stampin’ Blitz!!!
coming February 26th! 8 am to 8 pm and make 20 birthday cards!
Confirmation and $75 due January 23rd
Thanks for visiting!
Esther


