I love getting new stamps and dies to play with! And am excited to share with you Stampin’ Up January to June 2022 mini catalog with you!
Ordering will begin January 4th for customers or if you are a demonstrator under me, you may order these products now.
Sweet Conversations was top on my list! I love the Designer Series Paper that coordinates with it! It has the traditional Real Red hearts as well as the traditional sweet heart conversation candies that are pink, purple, yellow, and green! Makes me looking forward to Valentine’s Day :)
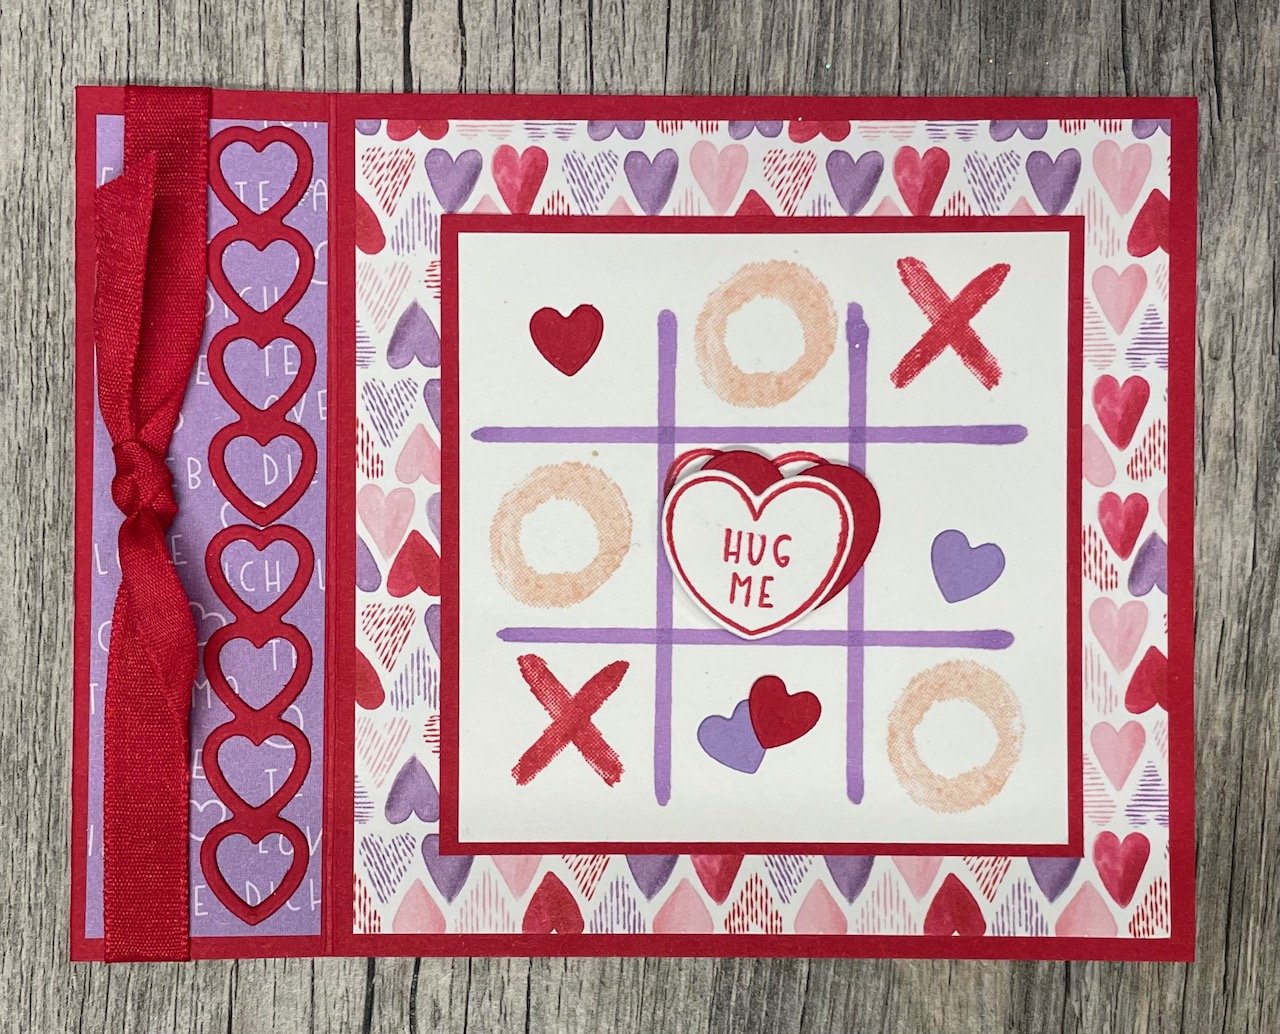
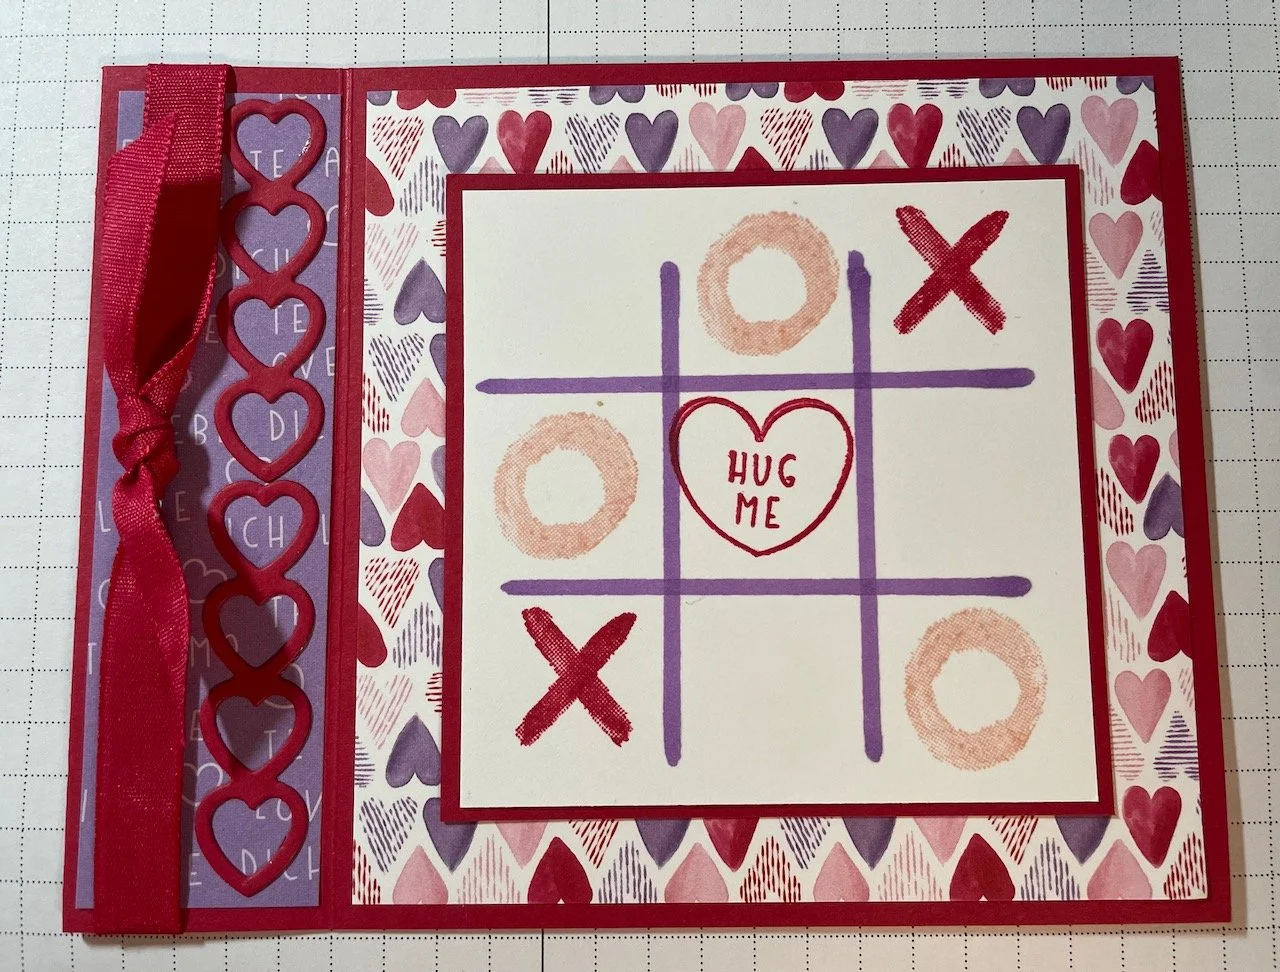
The Sweet Conversations stamp set has a cute “X” and “O” that totally makes me think of Tic Tac Toe…..so here’s my first card using the set with a picture tutorial.
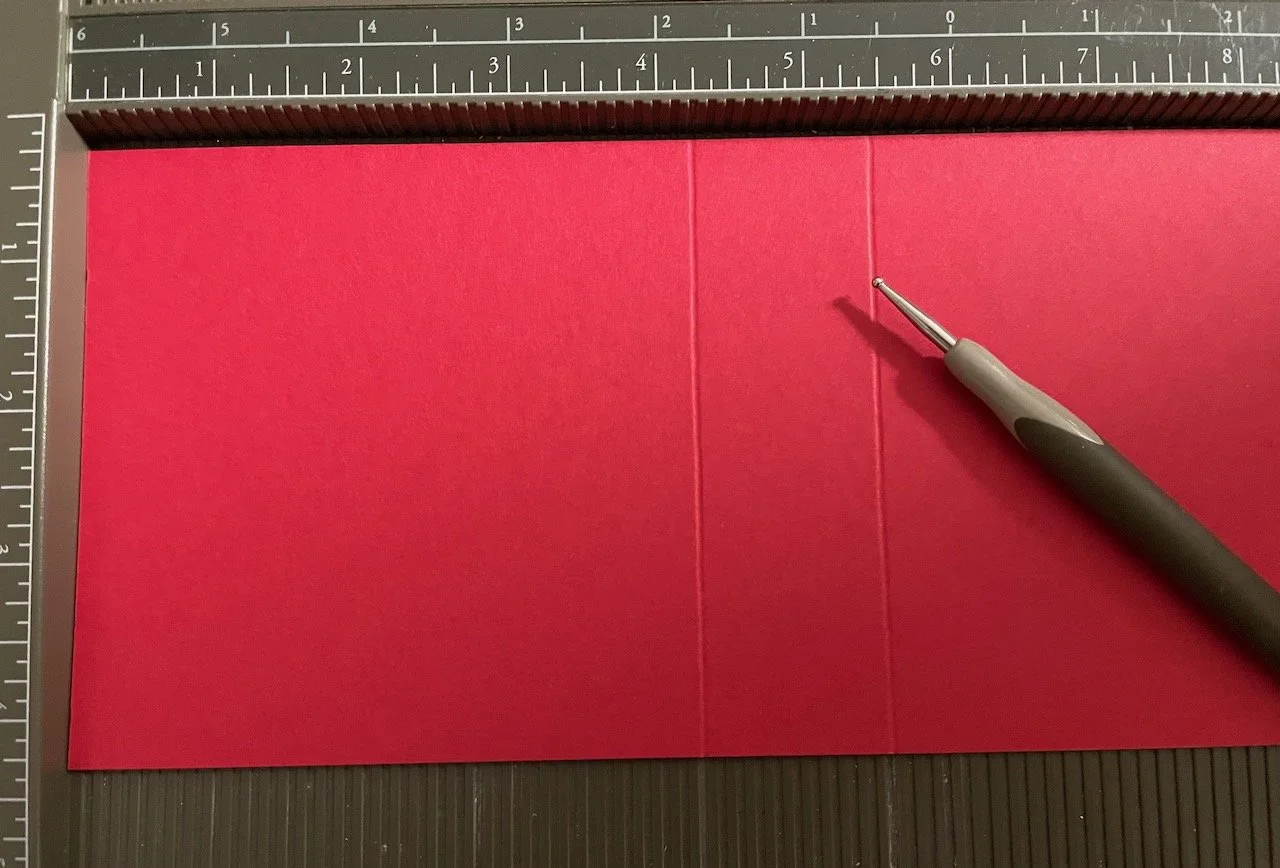
You will need a piece of Real Red CS cut 11” x 4 1/4” and score at 4 1/4” and 5 1/2”
Cut a piece of Real Red CS that is 3 1/8” x 3 1/8” to use later as a matte
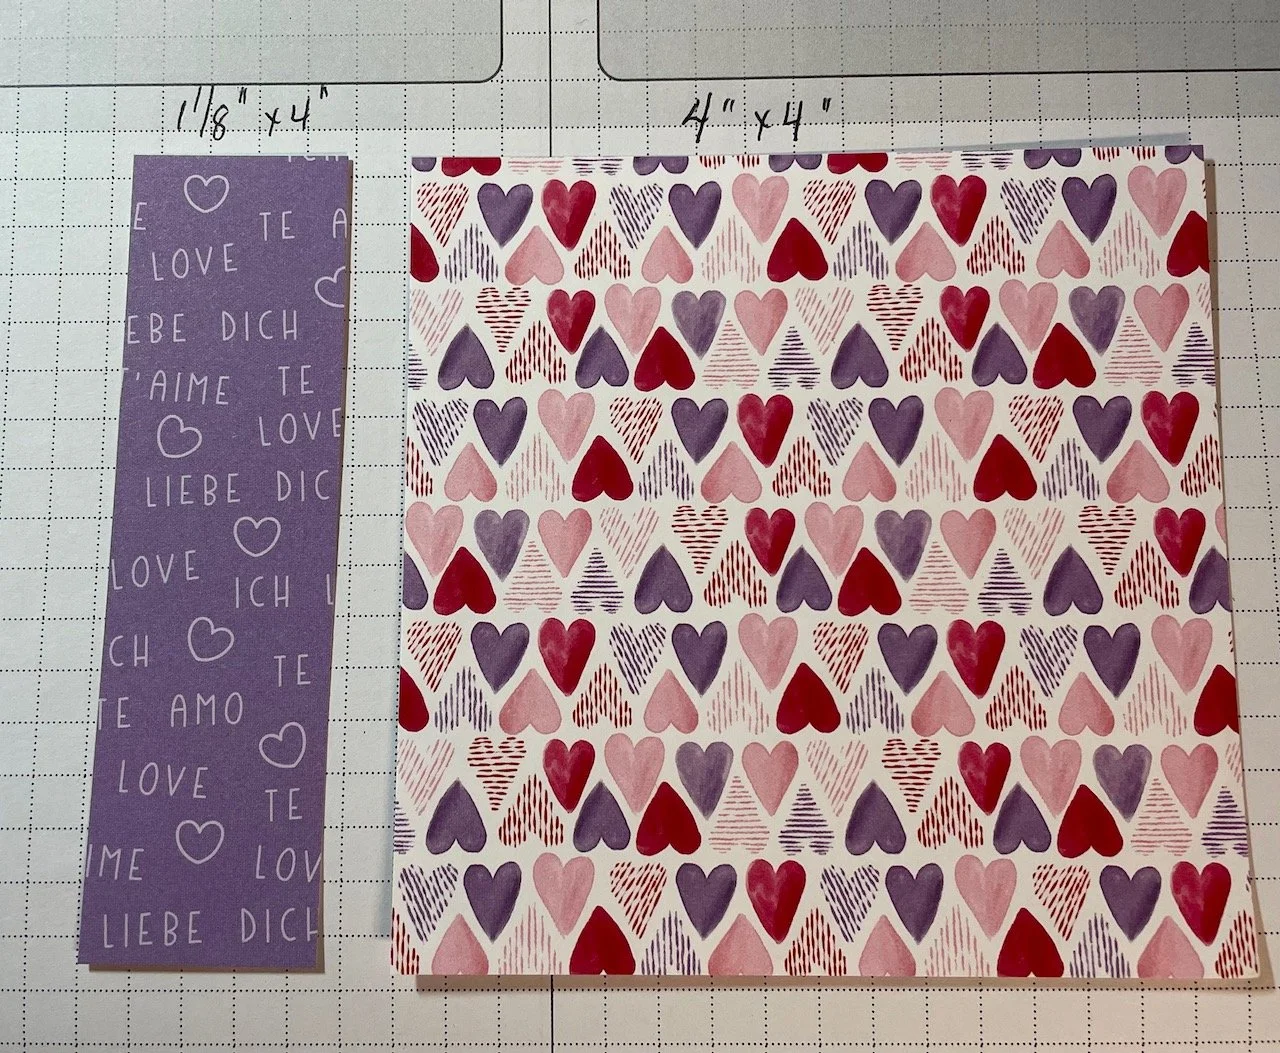
Cut Sweet Talk Designer Series Paper 1 1/8” x 4” and 4” x 4”
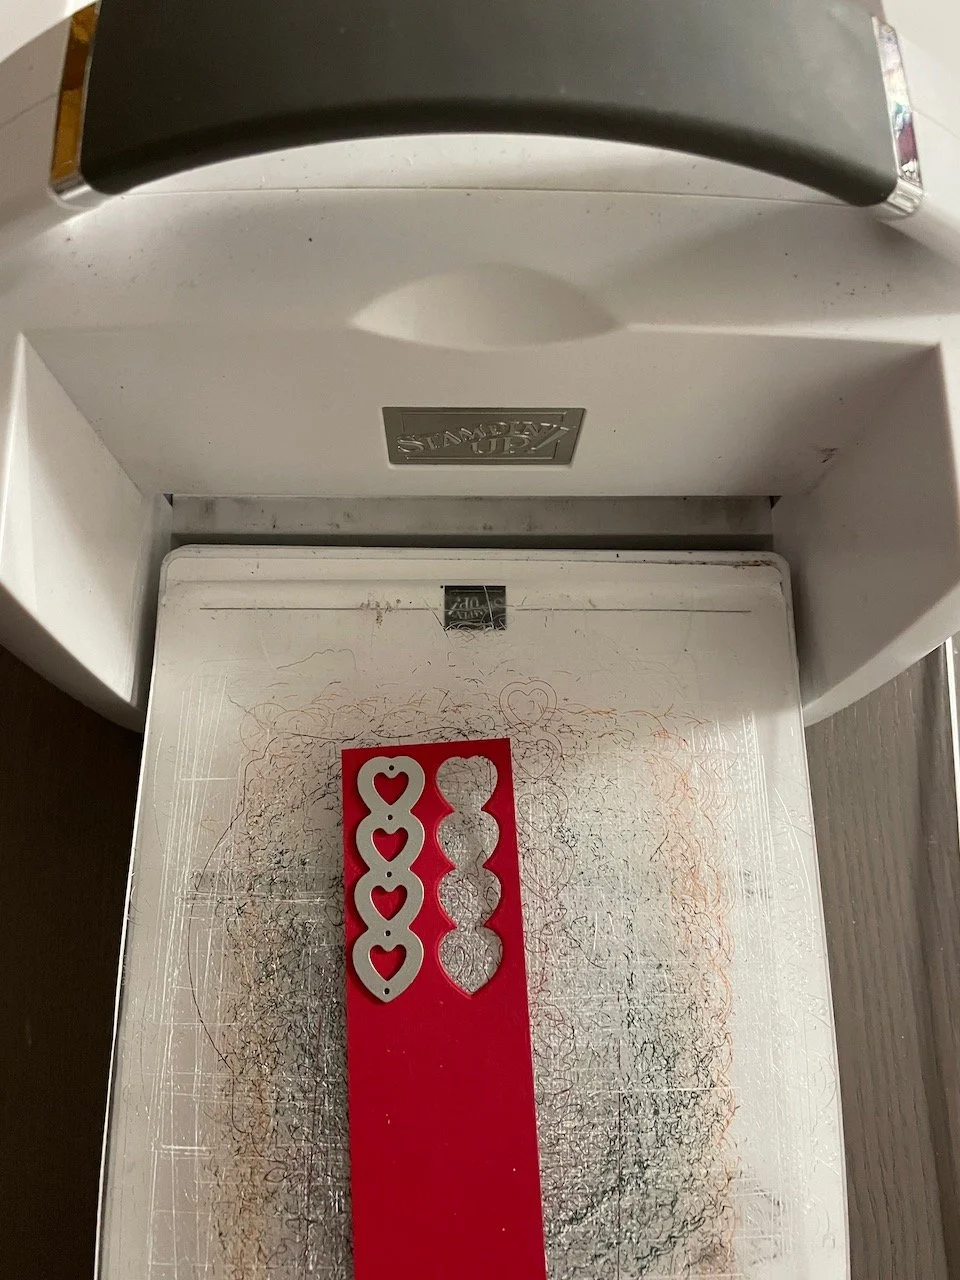
You will also need 2 die cut pieces of vertical hearts (from Sweet Hearts Dies” in Real Red CS - save the inside hearts for later use :)
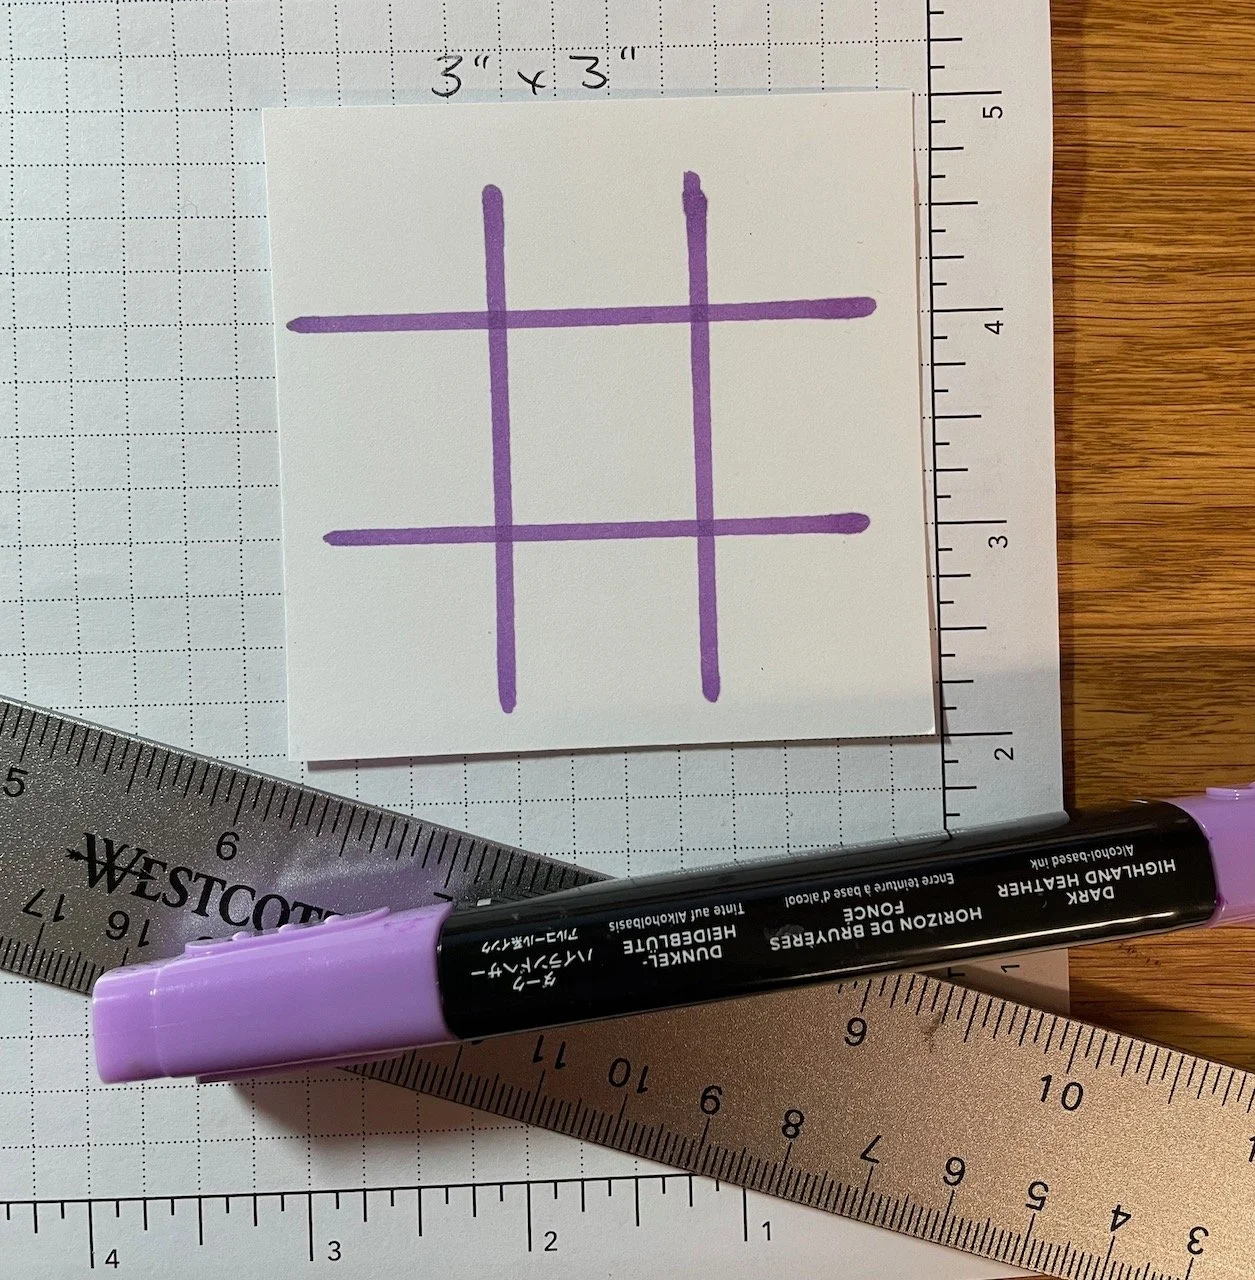
Cut 2 pieces of Basic White CS measuring 3” x 3”
Begin by placing one piece on your grid sheet to help as a guide to draw a line with your Dark Highland Heather Blends marker and a ruler
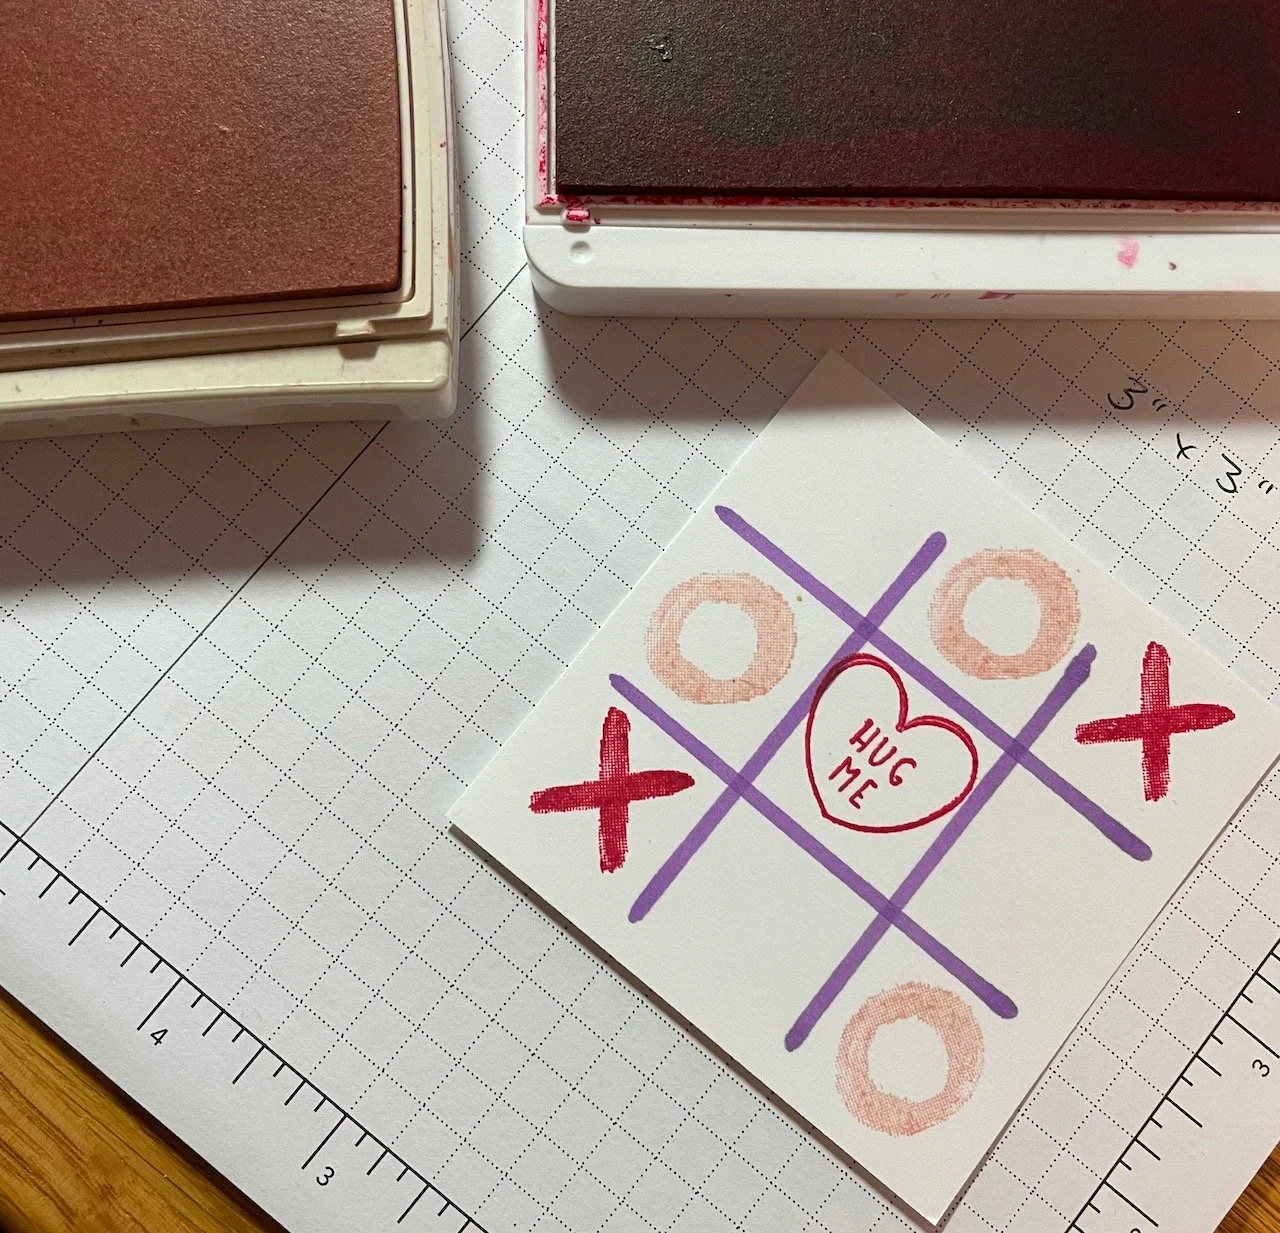
Continue by stamping using Real Red and Blushing Bride ink pads
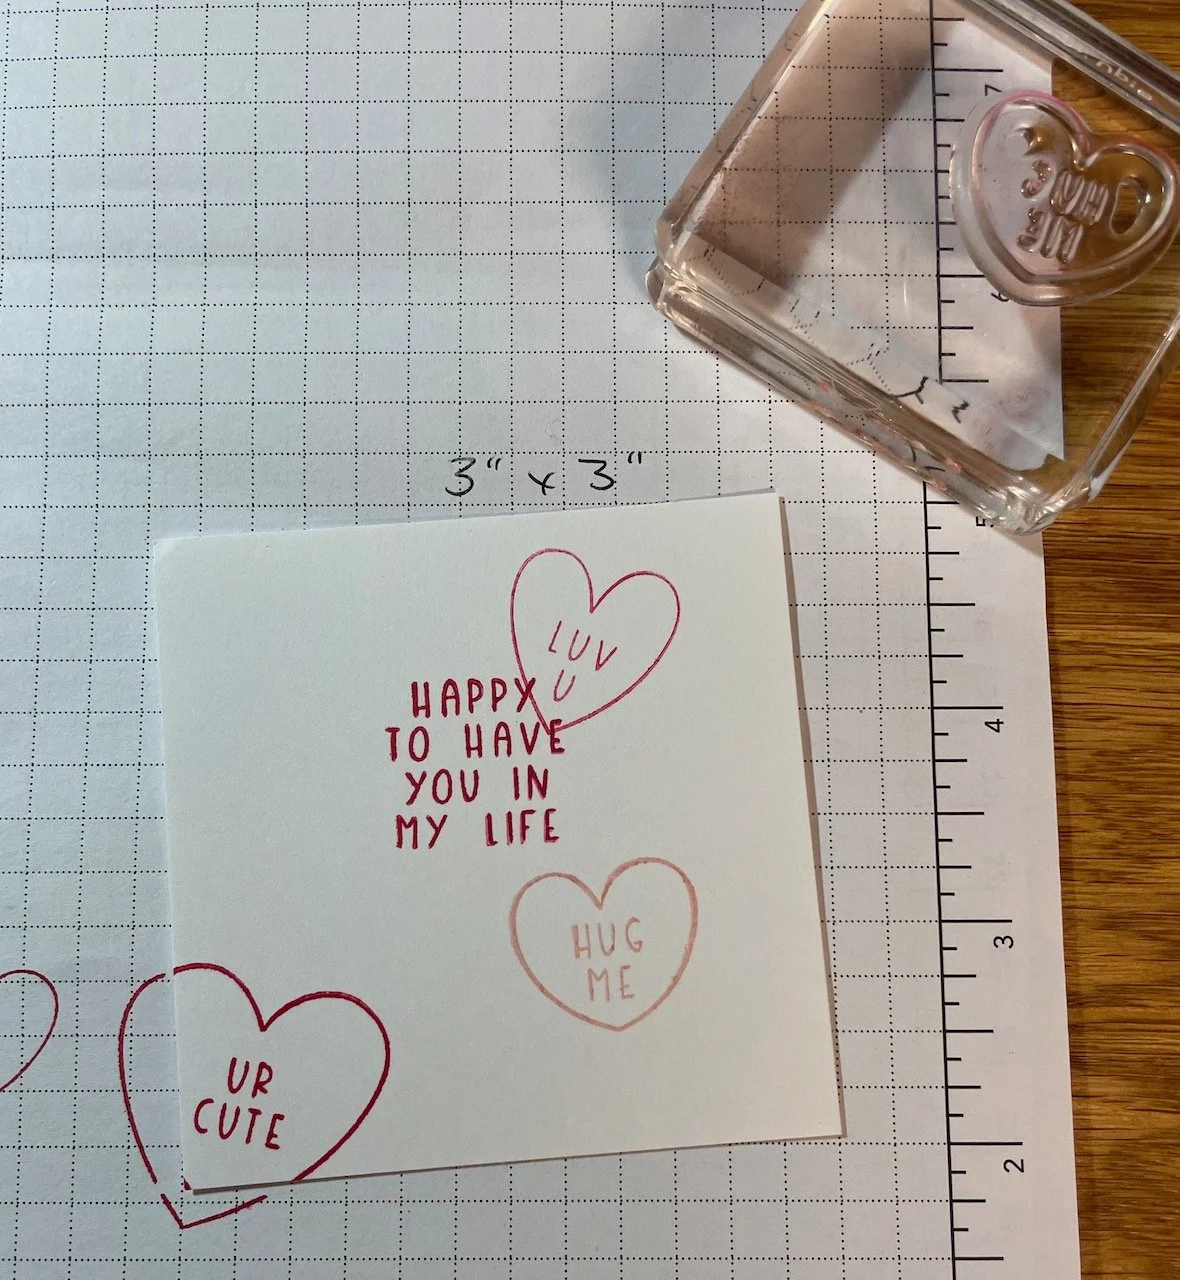
while the stamps and inks are out, stamp inside as you desire. Here is my design. I just had fun stamping for the fun of it!
time to put your card altogether now!
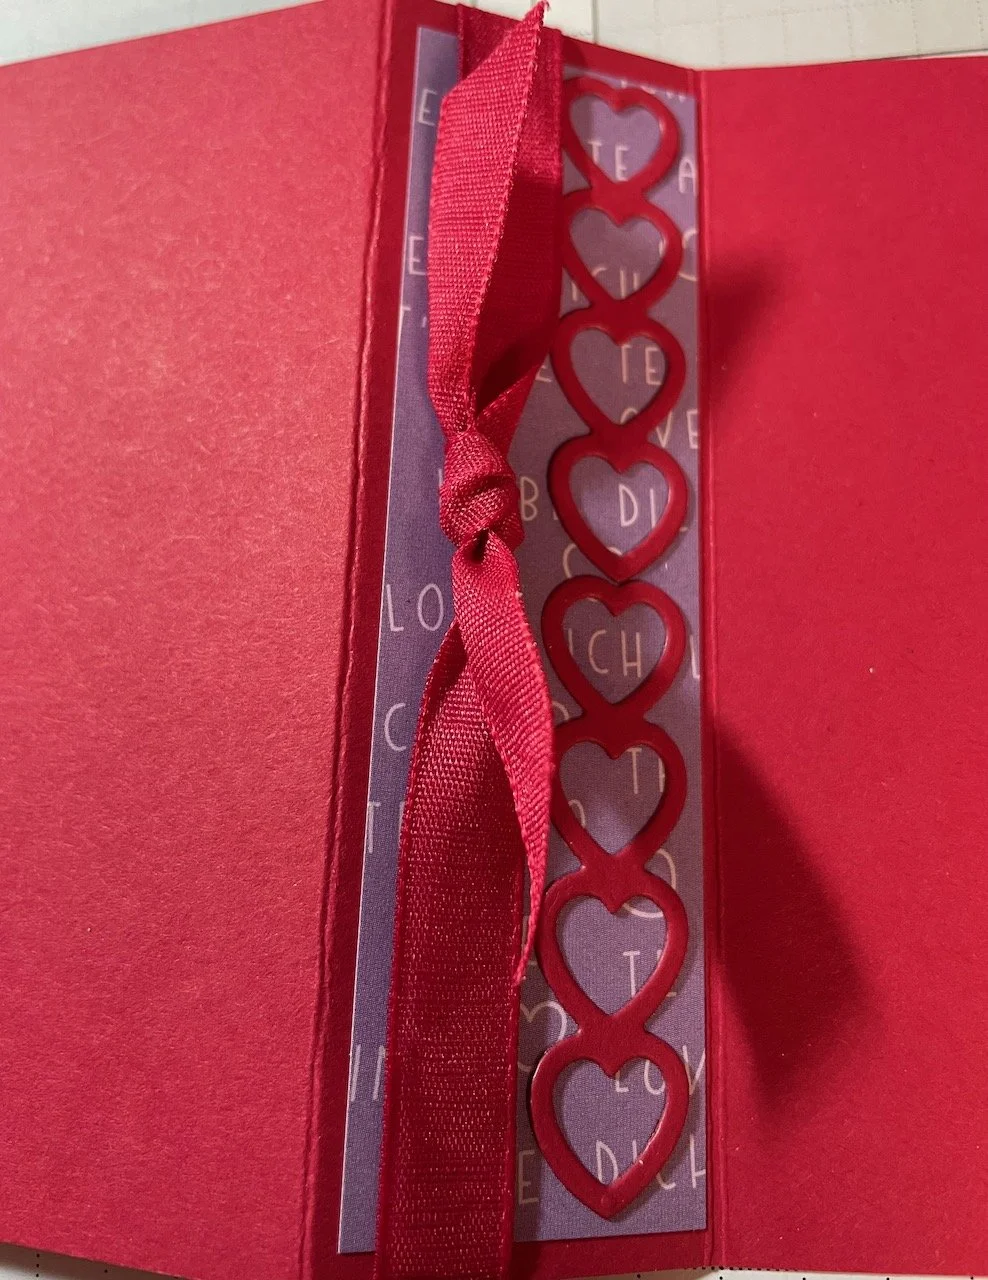
Start by adhering the narrow strip of DSP to the card front between the 2 score lines….put DSP beside the right hand score line so there is 1/8” of Real Red CS showing on the left side
adhere the die cut vertical hearts
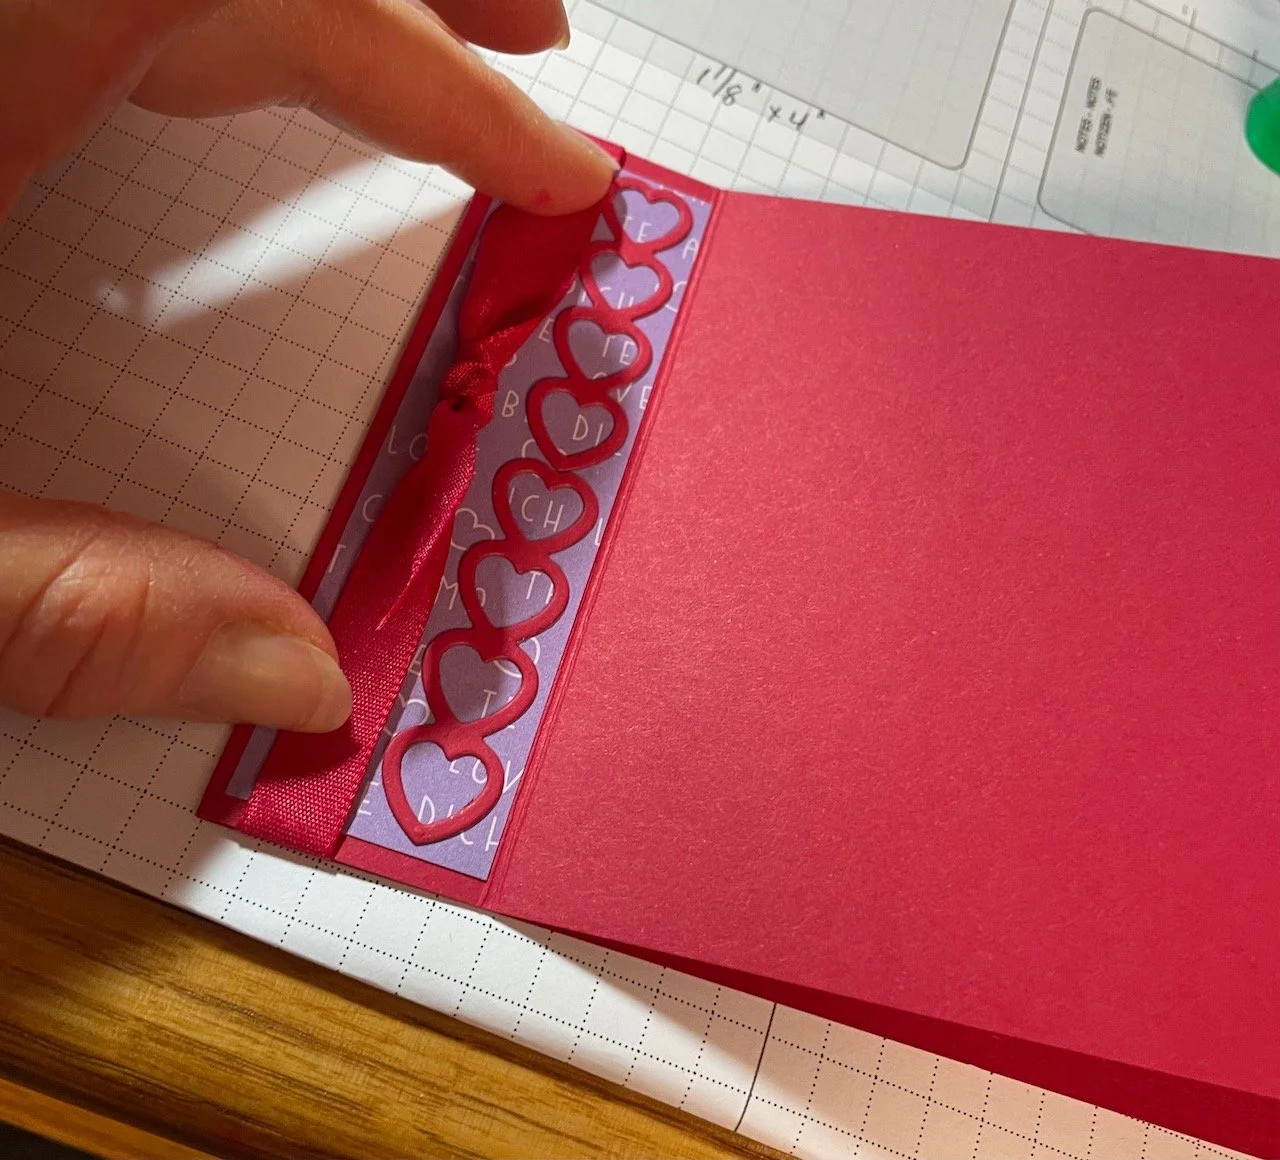
tie NEW Real Red Faux Linen ribbon around card front. You will need about 14 inches for a knot or more if you tie into a bow
Next, adhere the inside of that narrow part closed on the inside to create a square on the card front and inside
Finish the card front by adhering the 4 x 4 piece of DSP
Attach the stamped card front to Real Red matte
